WE MAKE IRRIGATION ACCESSIBLE TO EVERY FARMER IN SOUTH AFRICA. PROUDLY 94% MORE COST-EFFECTIVE.

+27 71 677 4683
RC POLYPIPE MAKES IRRIGATION ACCESSIBLE TO EVERYONE IN SOUTH AFRICA WITH A SOLUTION THAT IS 94% MORE COST-EFFECTIVE.
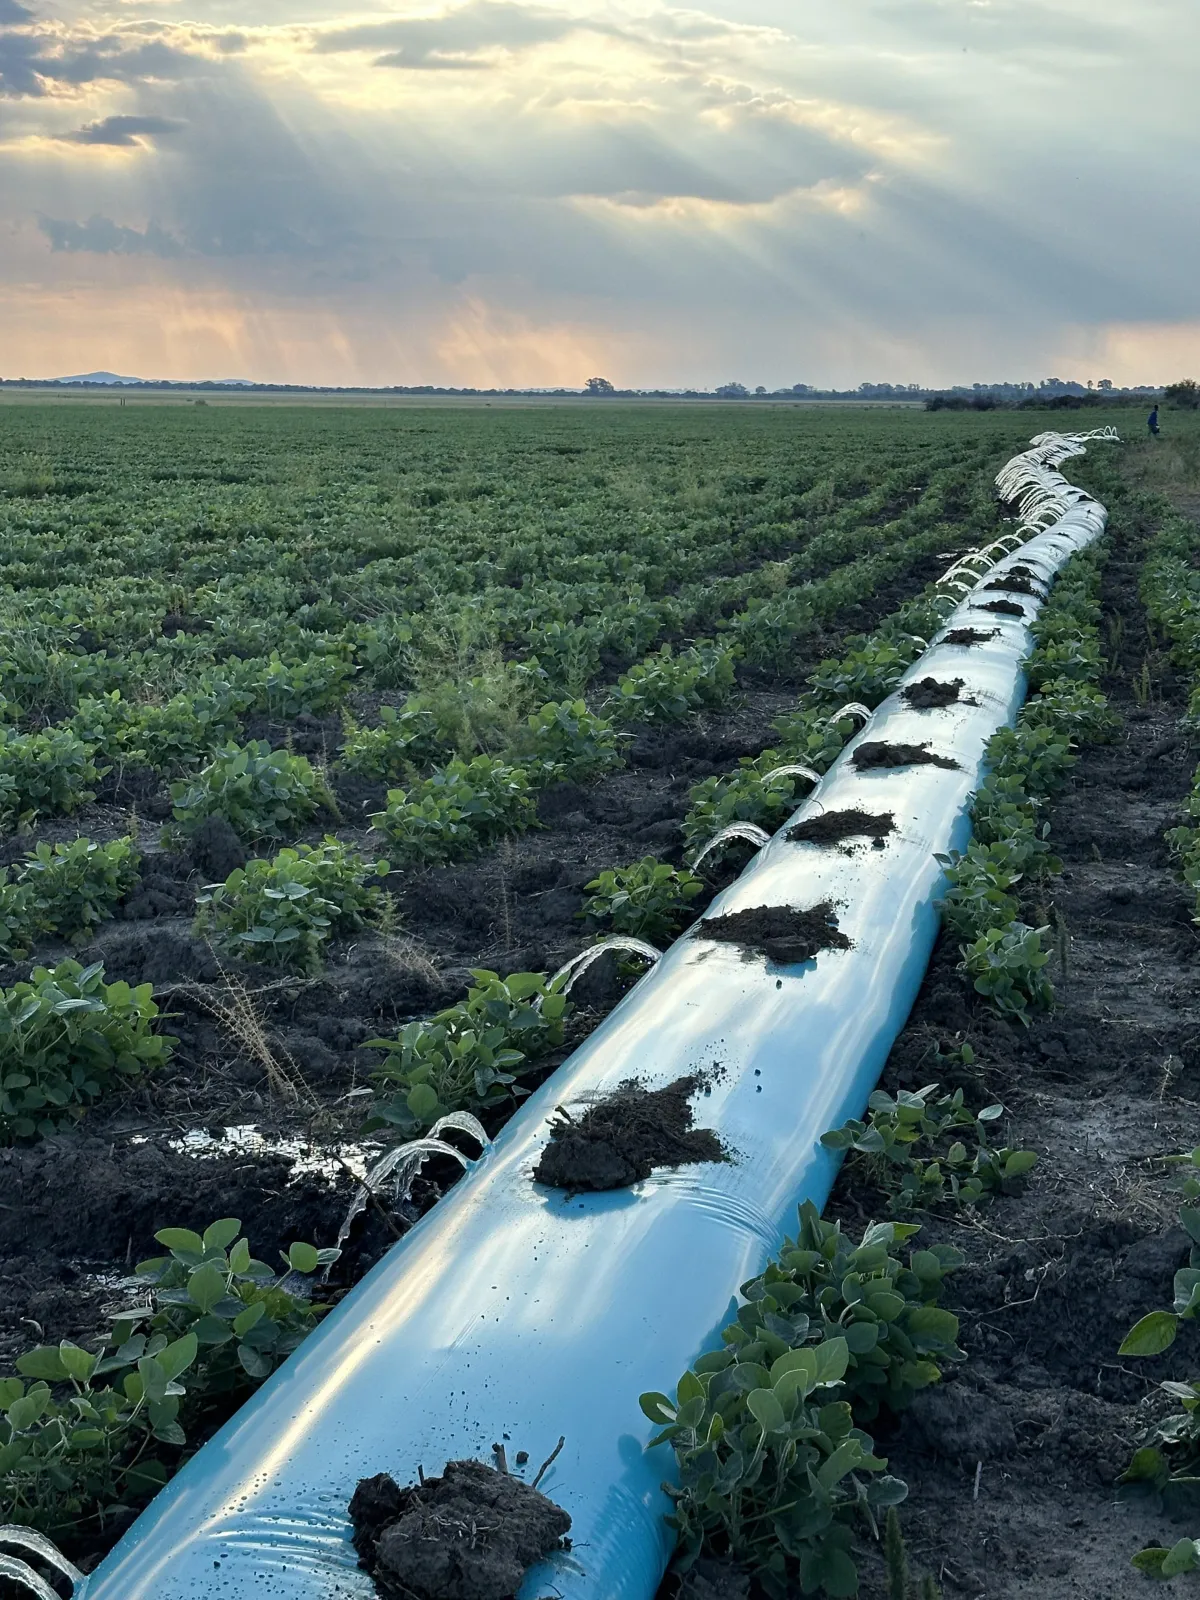
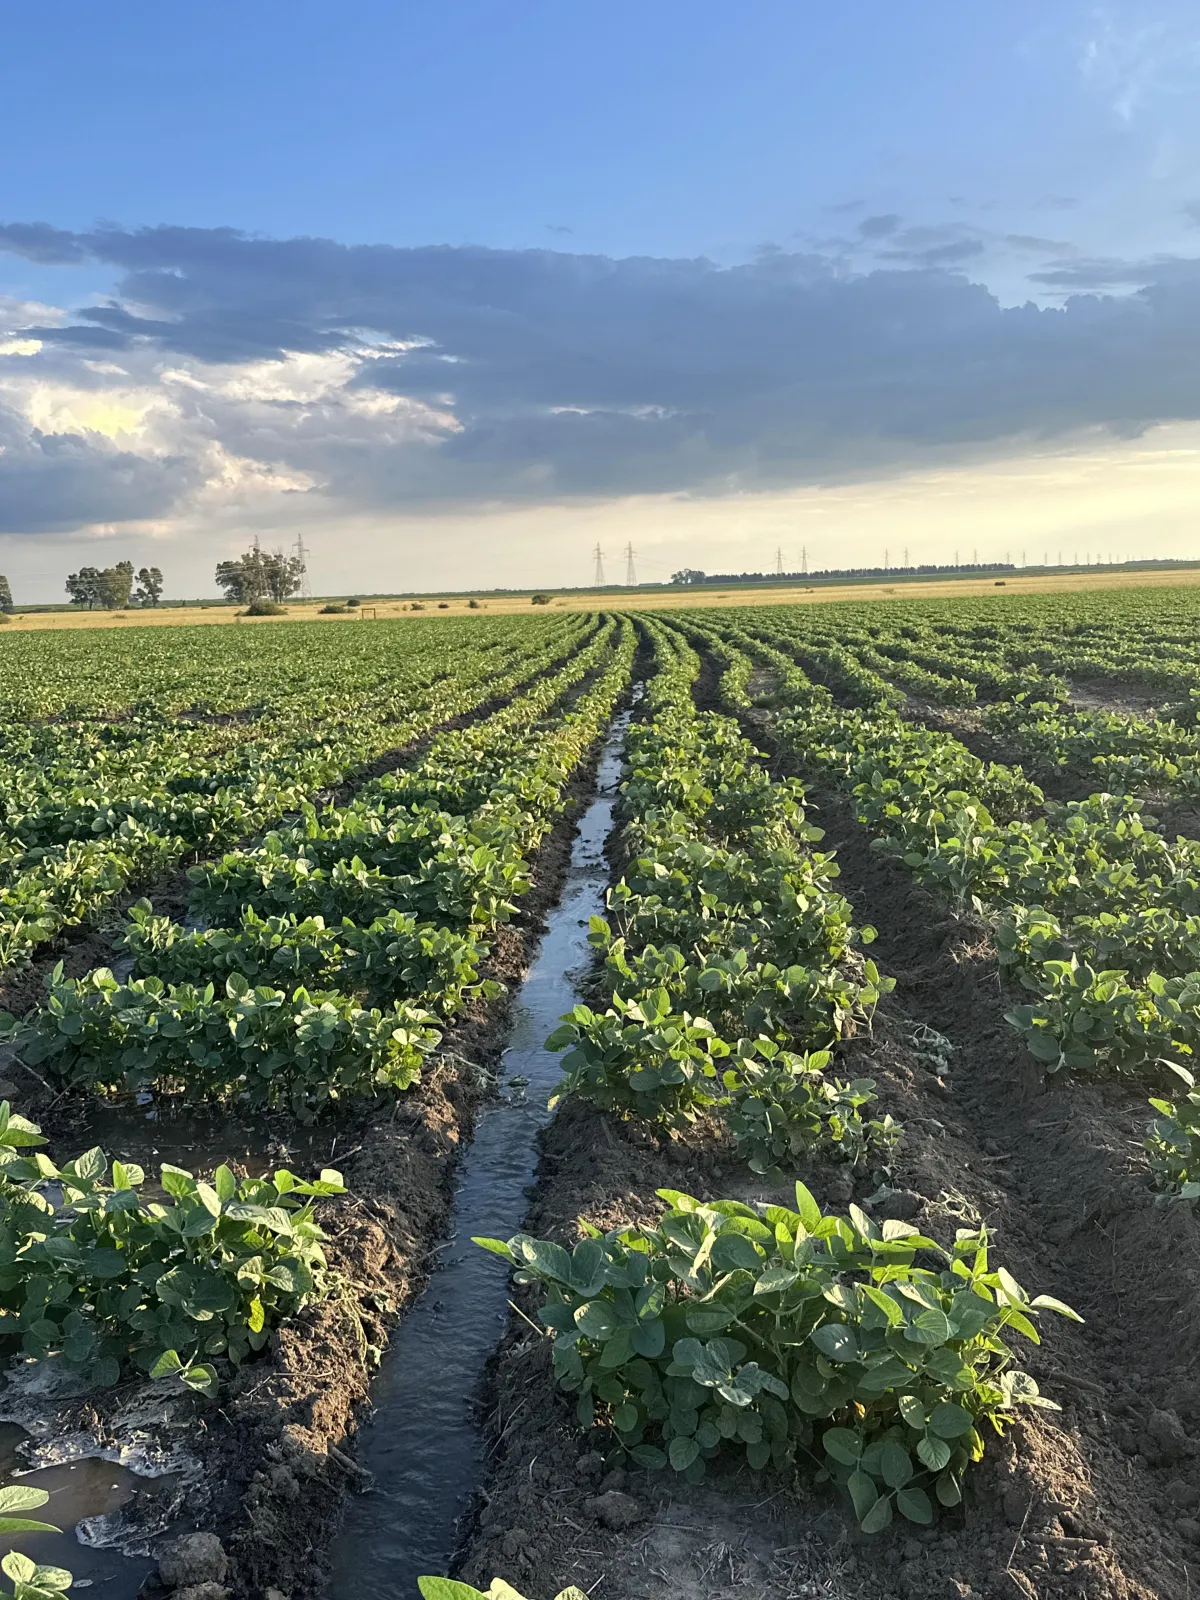
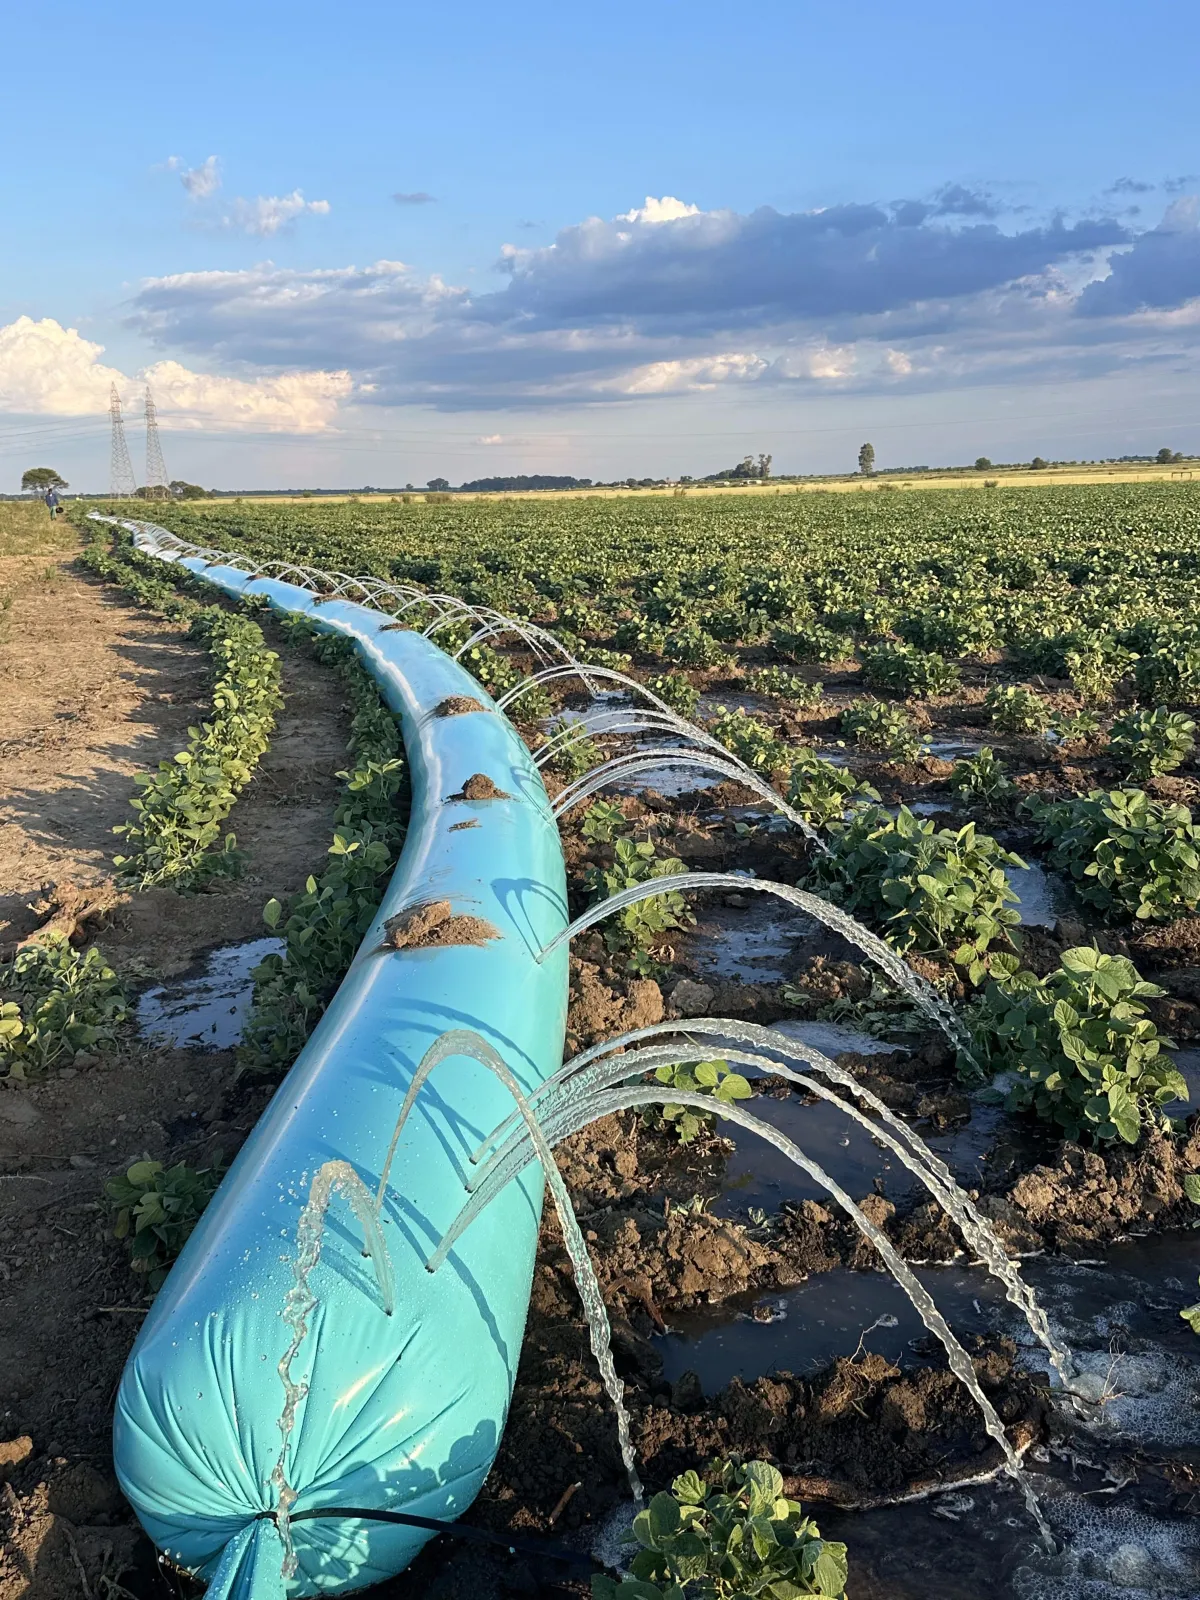
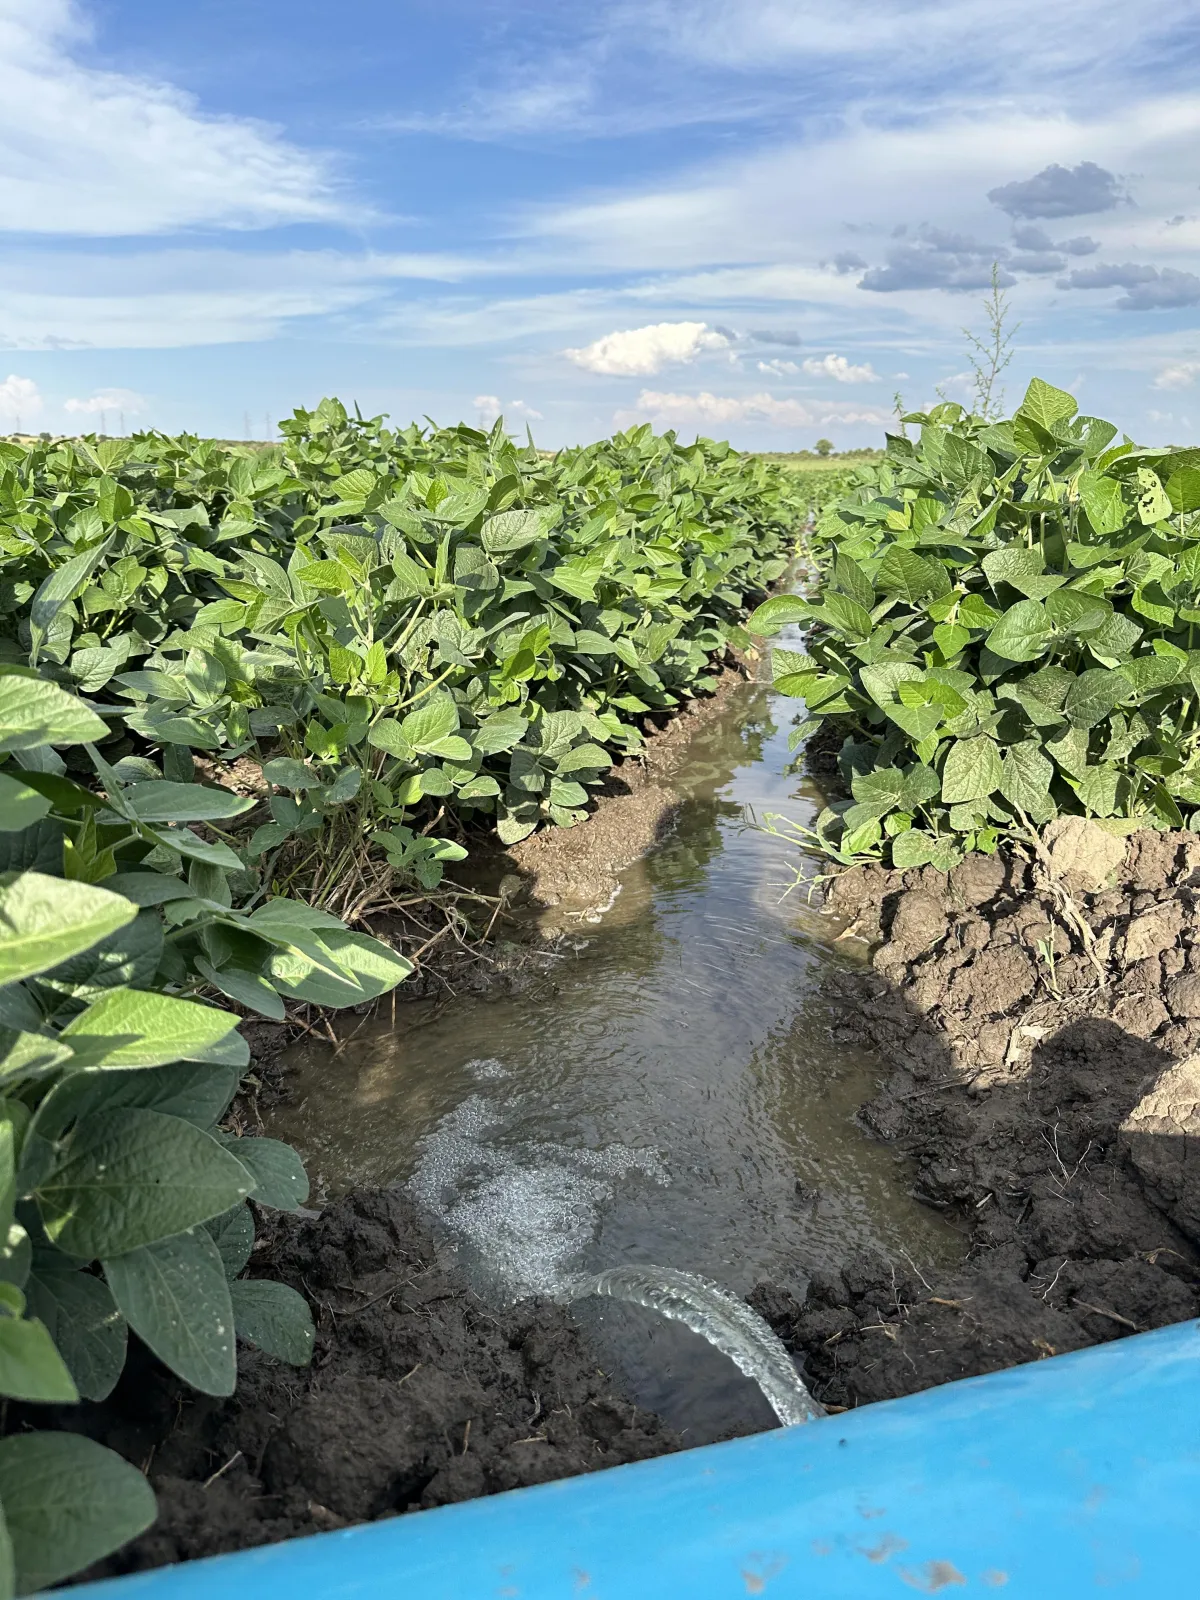
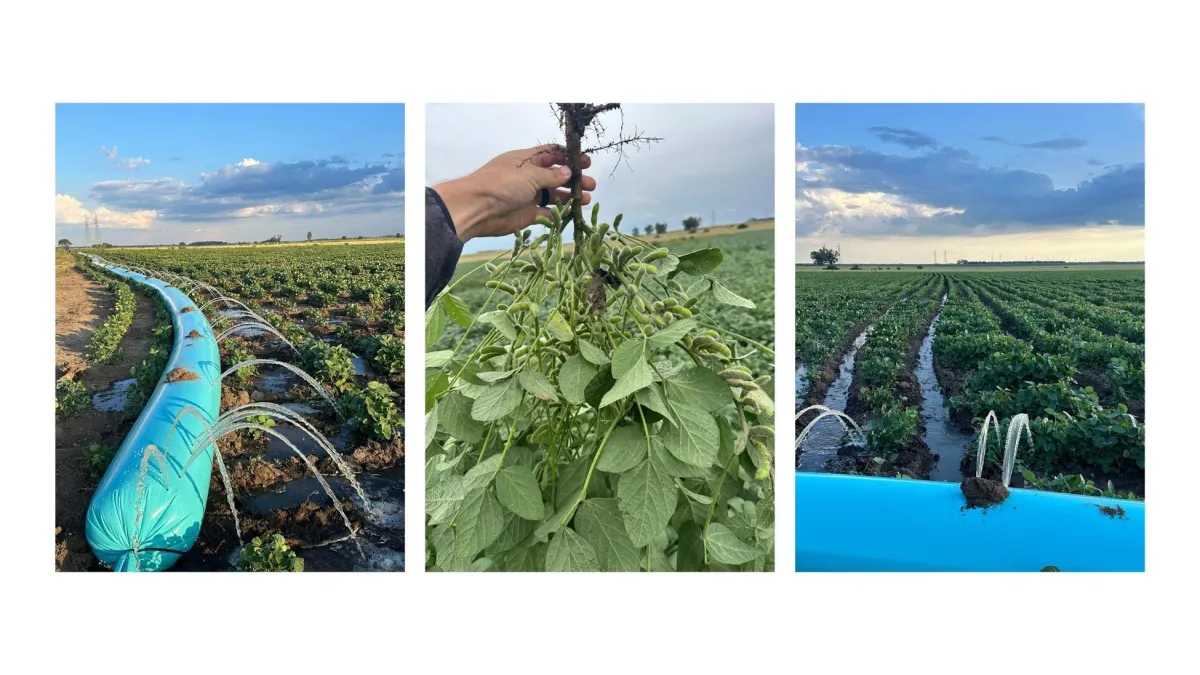
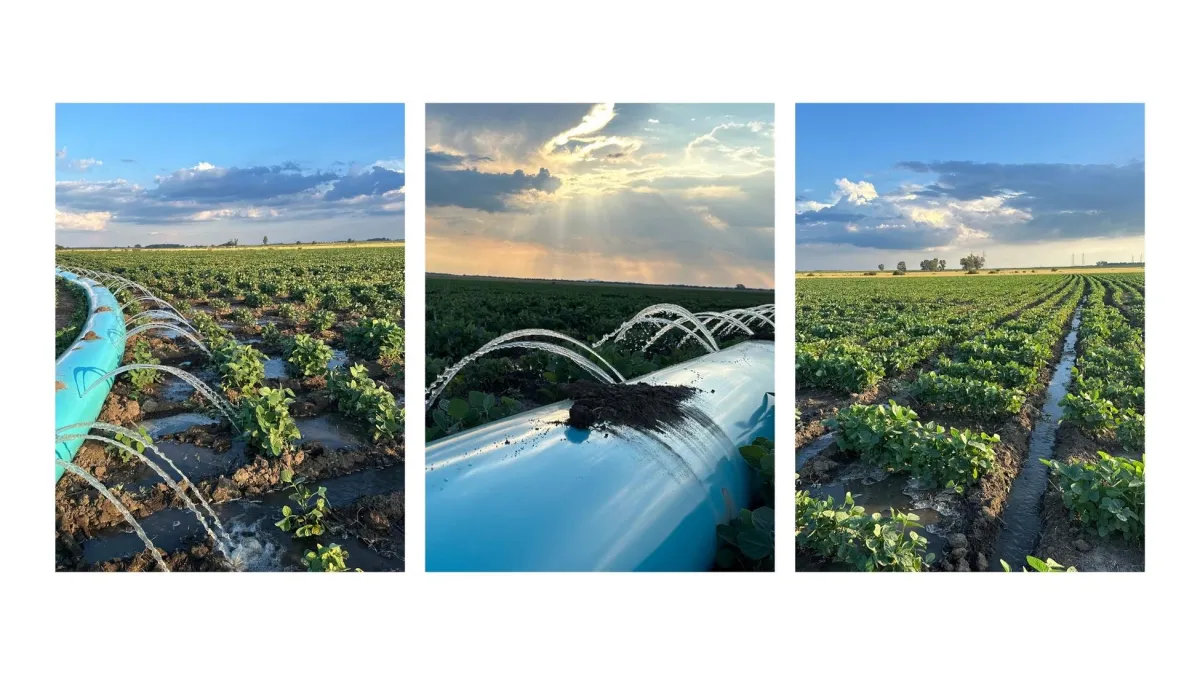
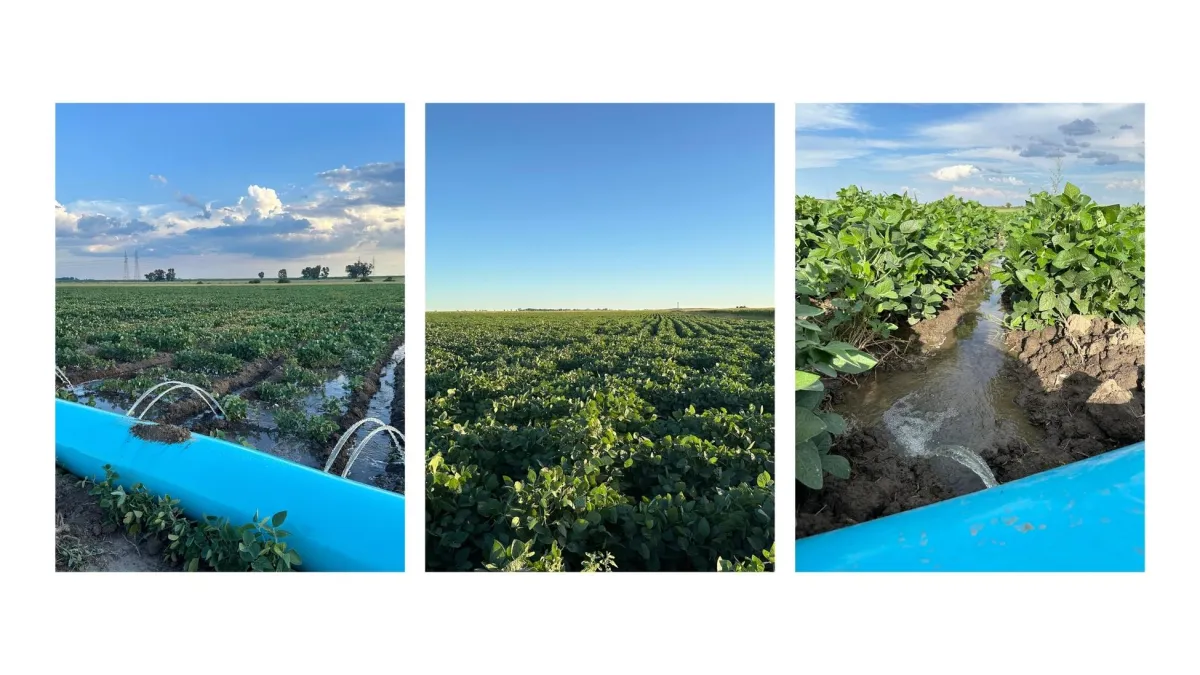
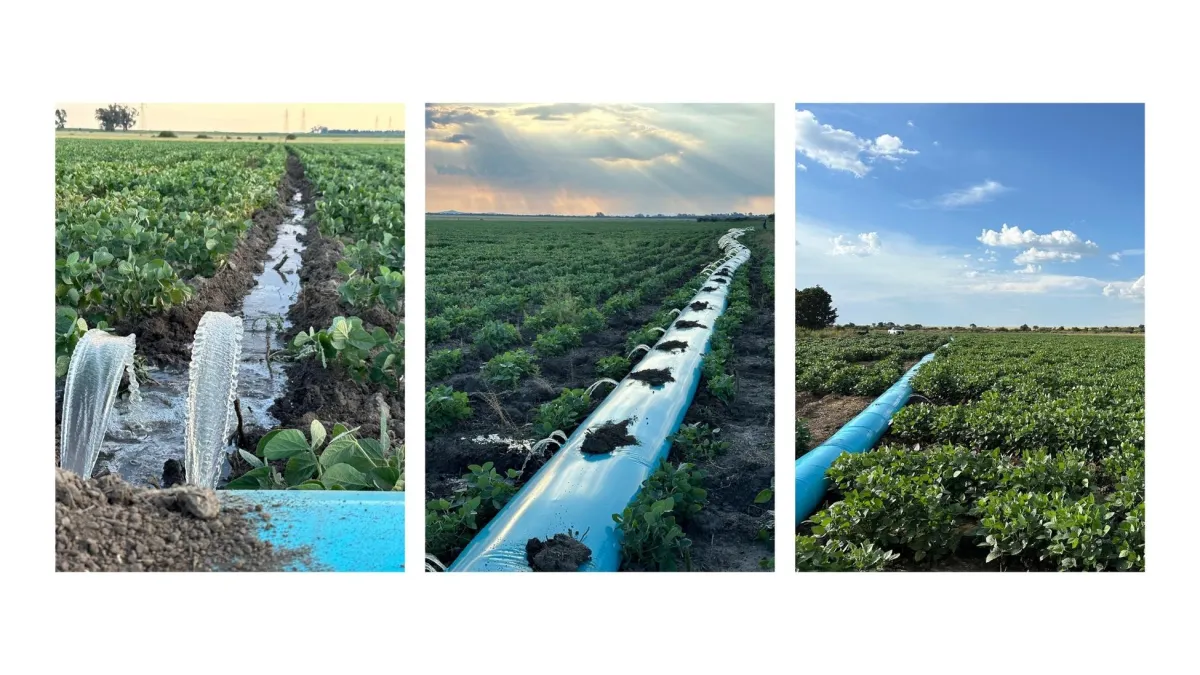
SOME RC POLYPIPES IN THE WILD
SOME RC POLYPIPES IN THE WILD
Here's How RC PolyPipe cuts irrigation costs vs. traditional systems

Lower Initial Investment
RC Polypipes have a lower upfront cost compared to other traditional systems, with fewer components and simpler setup. Other traditional systems require a high initial investment in machinery and installation, making them more expensive from the start.

Reduced Labor & Maintenance Costs
RC Polypipes installs quickly and needs minimal labor, with no moving parts to service. Other traditional systems require regular monitoring, repairs, and maintenance on motors and sprinklers, driving up labor and upkeep costs.

Minimal Water
Loss
RC Polypipes reduces water loss by delivering water directly to crops, making it highly efficient. Other traditional systems lose water through evaporation and wind drift, leading to higher water usage.

Flexibility & Versatility
RC Polypipes are versatile, adapting to various field shapes. Other traditional systems are limited to circular fields, making them less efficient in irregular areas and leading to over- or under-irrigation.

Energy
Efficiency
RC Polypipes uses low-pressure water systems, reducing energy costs. Other traditional systems rely on motors and pumps, consuming more energy and driving up operational costs.

Longer
Lifespan
RC Polypipes lasts multiple seasons with proper care, reducing replacement costs. Other traditional systems experience more wear and require frequent part replacements.
Ready to get started?
Here's How RC PolyPipe cuts irrigation costs vs. traditional systems

Lower Initial Investment
RC Polypipes have a lower upfront cost compared to other traditional systems, with fewer components and simpler setup. Other traditional systems require a high initial investment in machinery and installation, making them more expensive from the start.

Reduced Labor & Maintenance Costs
RC Polypipes installs quickly and needs minimal labor, with no moving parts to service. Other traditional systems require regular monitoring, repairs, and maintenance on motors and sprinklers, driving up labor and upkeep costs.

Minimal Water Loss
RC Polypipes reduces water loss by delivering water directly to crops, making it highly efficient. Other traditional systems lose water through evaporation and wind drift, leading to higher water usage.

Flexibility & Versatility
RC Polypipes are versatile, adapting to various field shapes. Other traditional systems are limited to circular fields, making them less efficient in irregular areas and leading to over- or under-irrigation.

Energy Efficiency
RC Polypipes uses low-pressure water systems, reducing energy costs. Other traditional systems rely on motors and pumps, consuming more energy and driving up operational costs.

Longer Lifespan
RC Polypipes lasts multiple seasons with proper care, reducing replacement costs. Other traditional systems experience more wear and require frequent part replacements.
Ready to get started?
The Problem Every SA Farmer Knows Too Well...
For many farmers in South Africa, irrigation is simply out of reach. The cost of traditional systems is so high that the choice often comes down to making do without, risking smaller harvests and less income.
For those who can afford them, pumps eat into profits, leaks waste water, and old systems demand constant maintenance, taking time away from the work that matters most. Year after year, the expense and upkeep keep climbing.
That’s why RC Polypipe exists. It is built to break that cycle. Lower costs. Less labour. Minimal water loss. Installation is straightforward and requires no specialist skills.
On the rest of this page, you will see the product specs, connection guidelines, installation steps, and just how easy it is to get started.

rc Polypipes Specifications
Material Specifications:
Material: High-density polyethylene plastic.
Flexibility: More adaptable and less brittle. User-friendly.
Resistance: Specially treated for UV resistance and durability against environmental wear.
Product Dimensions:
Diameter Options: Four options available at 758cm, 548cm, 398cm & 298cm
Lengths Available: On the 758 cm pipe, ±29 kg = 60 m. On the 548 cm pipe, ±29 kg = 100 m. On the 398 cm pipe, ±29 kg = +140 m. On the 298 cm pipe, ±29 kg = +160 m.
Minimum order size: 29 kg
Installation Instructions
General Guidelines
Suitable Terrain: RC Polypipes are best used on level grade farms and cannot move water uphill or over slopes. Ideal for headlands that are level or have a slight downgrade.
Sloped Headlands: For headlands with a downgrade exceeding 0.61 to 0.91 meter per 305 meter, intermittent restrictions may be needed in the RC Polypipes line to maintain even water flow.
Adequate Waterhead: Ensure a minimum of 1.8 meter of waterhead (the height of the water surface above ground level) for smooth water entry and distribution across level or slightly downgraded headlands.


Pressure Relief Vents
Air Vent at Connection: Install an open-topped air vent at the pipes connection to release excess trapped air and prevent the pipe from bursting. if you don't have an air vent a simple 1 cm^2 hol
Extended RC Polypipe Runs : Use pressure relief vents ( 1 cm x 1 cm openings ) on long RC Polypipe runs to avoid damage.
Pump Water Source: Place an air vent 3 meter from the discharge pipe and at higher points in the RC Polypipes system. Pump system of
150 000 to 350 000 Liters per hour is recommended. Depending on size of area you would like to irrigate


Operation
Controlled Water Flow: Begin with a low water flow and gradually increase it to full capacity, the more water the better.
Gate Installation: As the RC Polypipes fills, create gate holes or install adjustable gates between the 2 and 3 o'clock positions. Consult with RC Polypipe for recommended flow rates based on your soil type and conditions.
Please Note!
Guidance Only: These instructions serve as a general guide. Environmental and field conditions may require adjustments to these steps for your specific operation.
Please note!
All Instructions:
Guidance Only: These instructions serve as a general guide. Environmental and field conditions may require adjustments to these steps for your specific operation.
Connection Instructions
A. Check Pipe Size and Surface
Ensure the diameter of the discharge pipe is equal to or smaller than the RC POLY-PIPE being attached. Smooth or tape any rough or sharp edges before making the connection. (You can use a empty 20 L oil can old or new for this by cutting it open. Then follow the instructions as indicated in the images. )
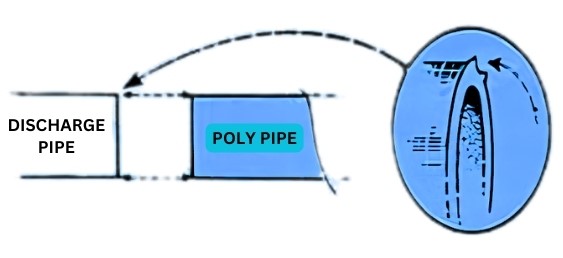

B. Fold Back Pipe
Fold about 0.3 meters (30 cm) of the Poly-Pipe back onto itself to create a double layer over the pipeline. Fasten the folded section with a large hose clamp or large cable ties.
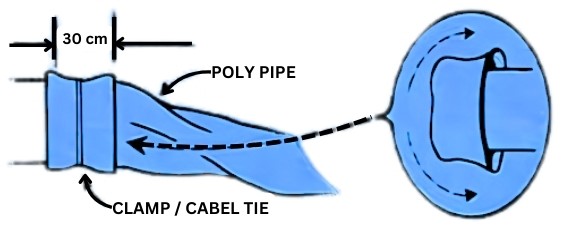

C. Support the Pipe
Make sure the connection is at ground level or supported with dirt to prevent the RC Polypipes from hanging. Leave some slack at the water source to avoid the RC Polypipes from being pulled off the connection.
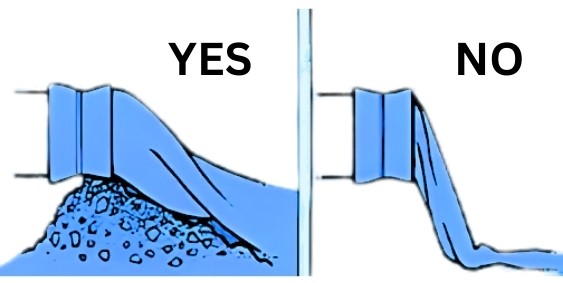

D. Ease Initial Strain on Connection
Pull the RC Polypipe across the headlands, by inserting a pipe through the RC Polypipe roll and have two people carry the roll. Have someone hold the RC Polypipe at the discharge connection until the tension is released. You can also use machinery as indicated in the image.
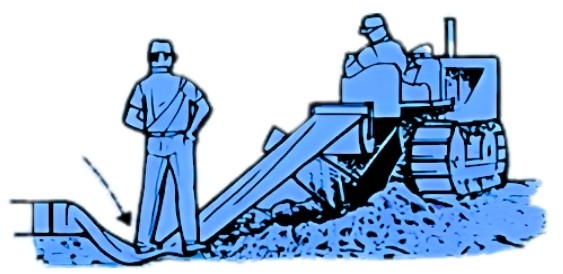

E. Trenching
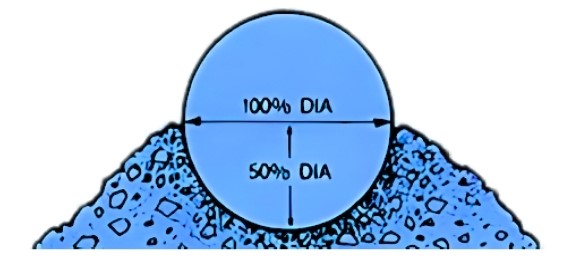
Lay RC Polypipe evenly in a continuous trench that is half the diameter of the RC Polypipe in depth and equal to the diameter in width. This prevents the RC Polypipes from rolling when filled with water.

F. 90-Degree Turns
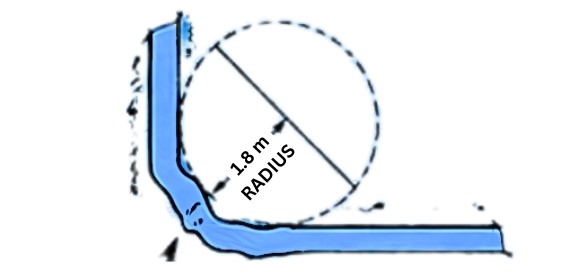
RC Polypipes can make 90-degree turns with a 1.8 to 2.4-meter radius. Ensure the trench radius is even on all corners.

G. Secure RC Polypipes in Place
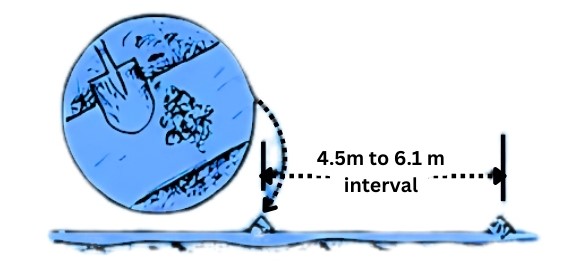
Place a shovel of dirt every 4.5 to 6.1 meter to keep the RC Polypipes in place during installation and maintain proper tension for smooth unrolling.

H. Pipe End
For irrigation, position the open discharge end of the RC Polypipe over a berm approximately 1 meter high to prevent excess pressure buildup and avoid system damage.


I. Do Not Tie the RC Polypipe End
Tying the RC Polypipes end will cause pressure buildup and could burst the pipe. (Thus we do not recommend tying , but it can still work. )


J. Venting
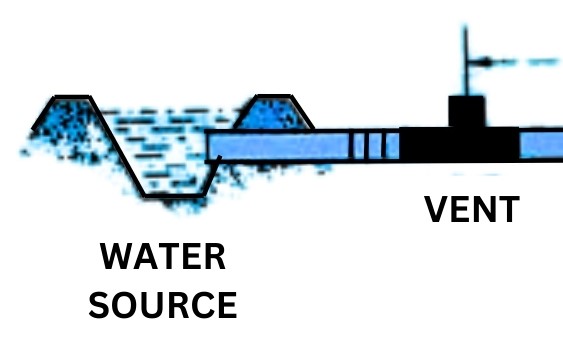
Proper venting is crucial to avoid issues. Place an open top vent about 3 meters from the water source to release air buildup, which restricts water flow and increases pressure. Additional vents may be needed at high points, usually created by punching gates (holes) into the top of the RC Polypipes.


CUSTOMER CARE
© Copyright 2026. RC Polypipe X. All Rights Reserved.
